Install RingCentral C# SDK
This tutorial demonstrates how to create a new project and install the latest RingCentral C# SDK.
Launch Xamarin Studio

Press keyboard shortcut: Shift - CMD - N to create a new solution
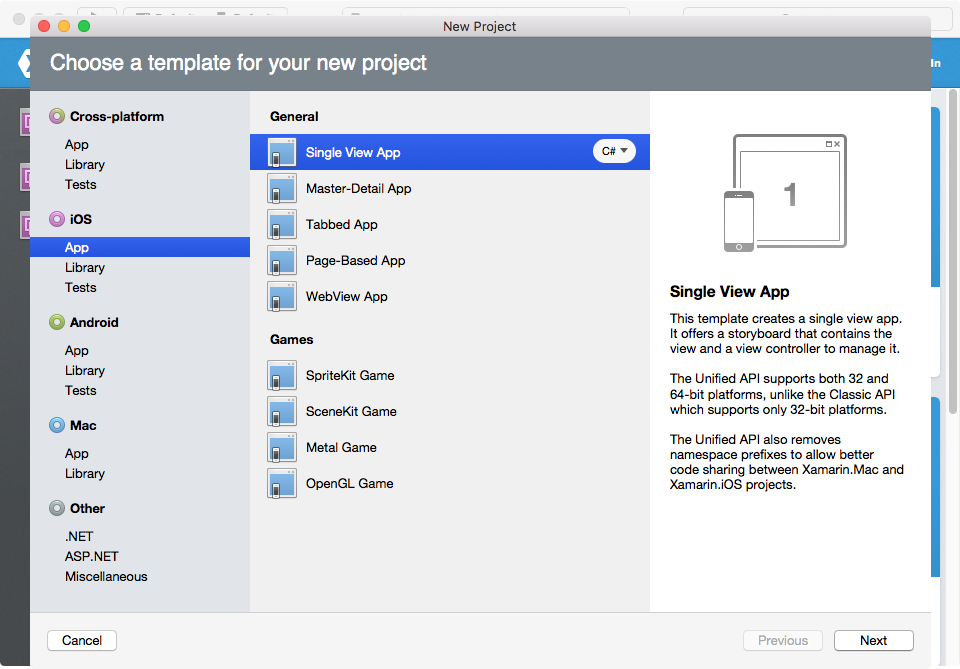
Choose "iOS -> App -> Single View App", click "Next"
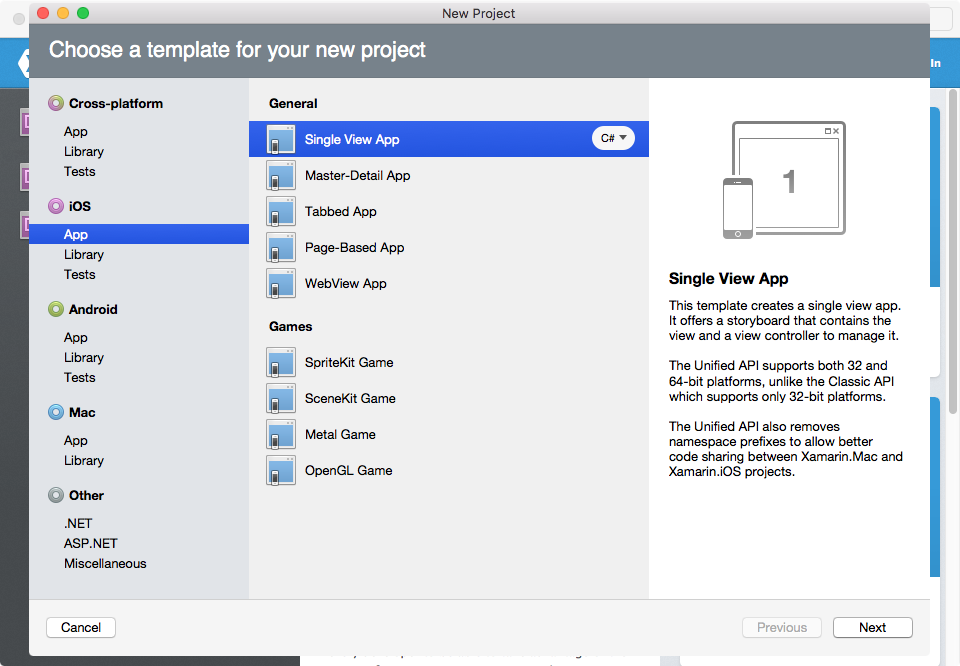
Here we take an iOS app for example. The method demonstrated here should also work for Android apps and Mac apps
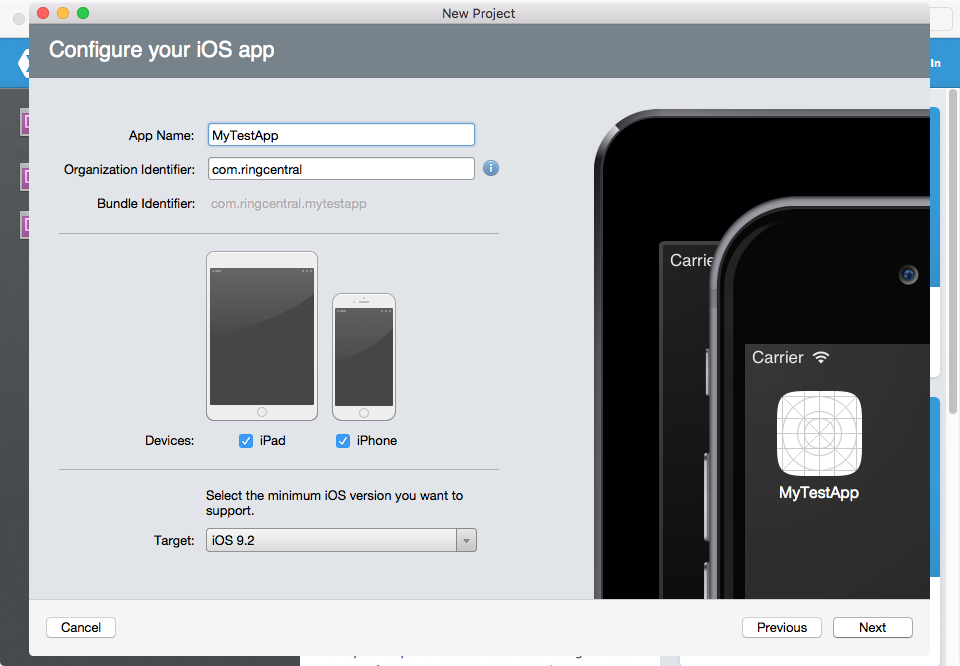
Name the app as MyTestApp , keep other settings as default, click "Next"
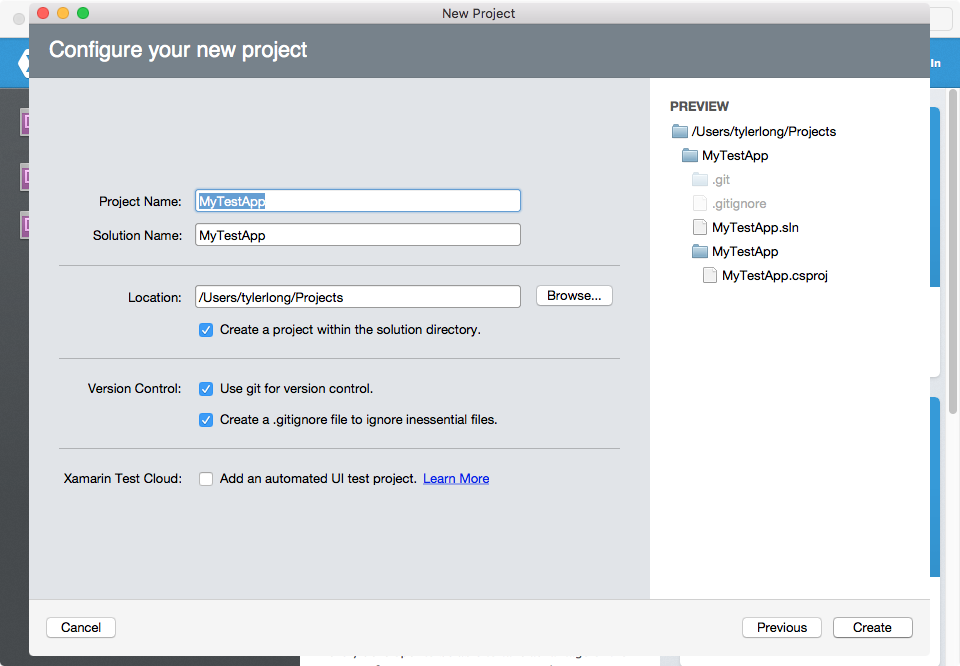
Keep all the settings as default, click "Create"
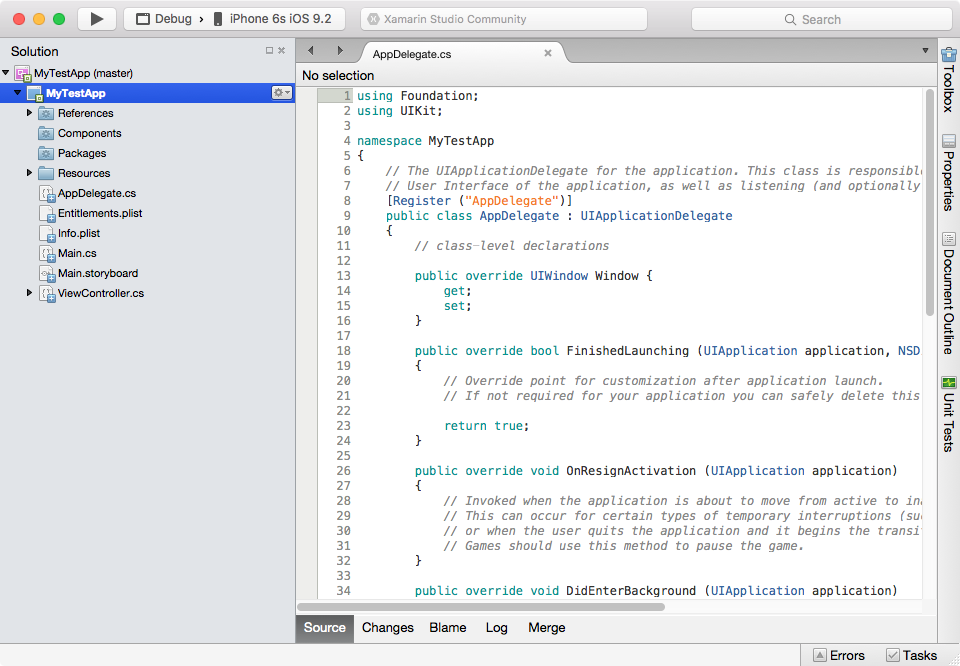
Test app created
From Xamarin Studio menu, select "Project -> Add NuGet Packages..."
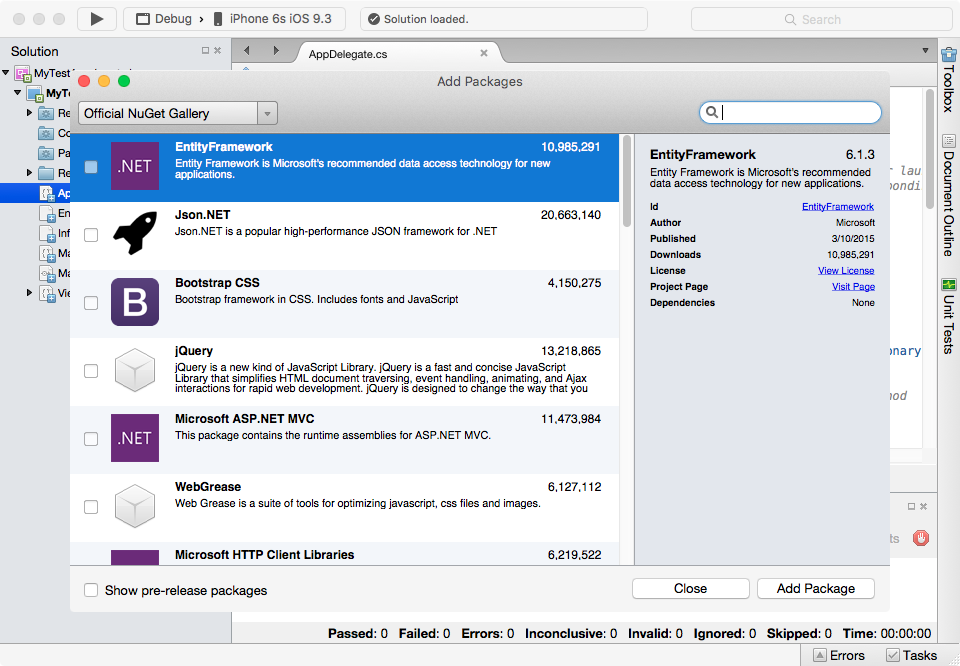
Search for "RingCentral", be sure to check "Show pre-release packages", check "RingCentral SDK", click "Add Package"
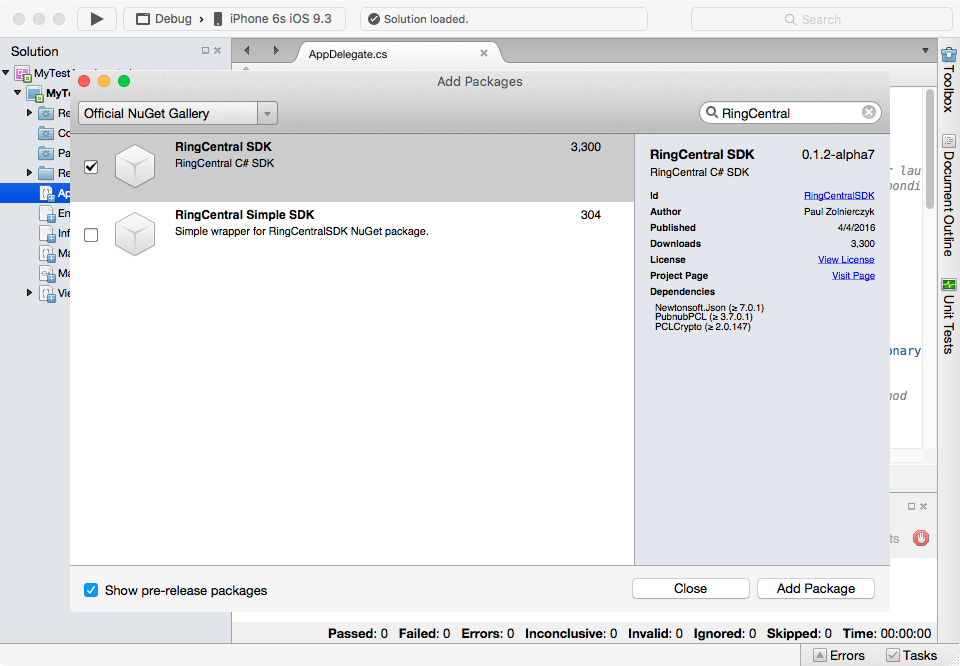
Here we checked "Show pre-release packages" because we want to install the latest pre-release version. In the future, we'll merge all the latest features in to the stable release, by then there is no need to install pre-release version.
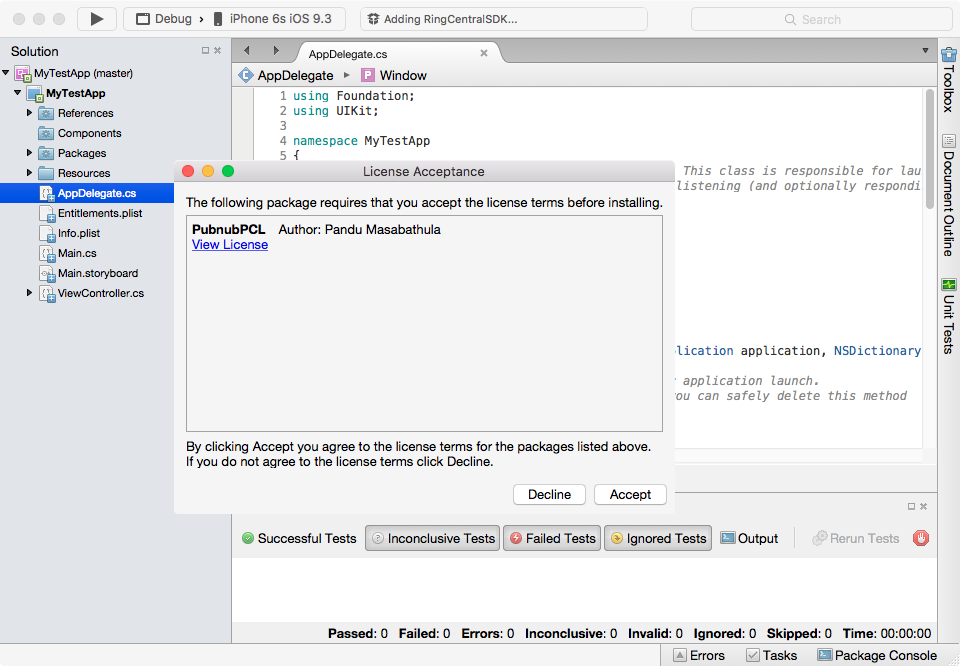
Accept the license of PubnubPCL
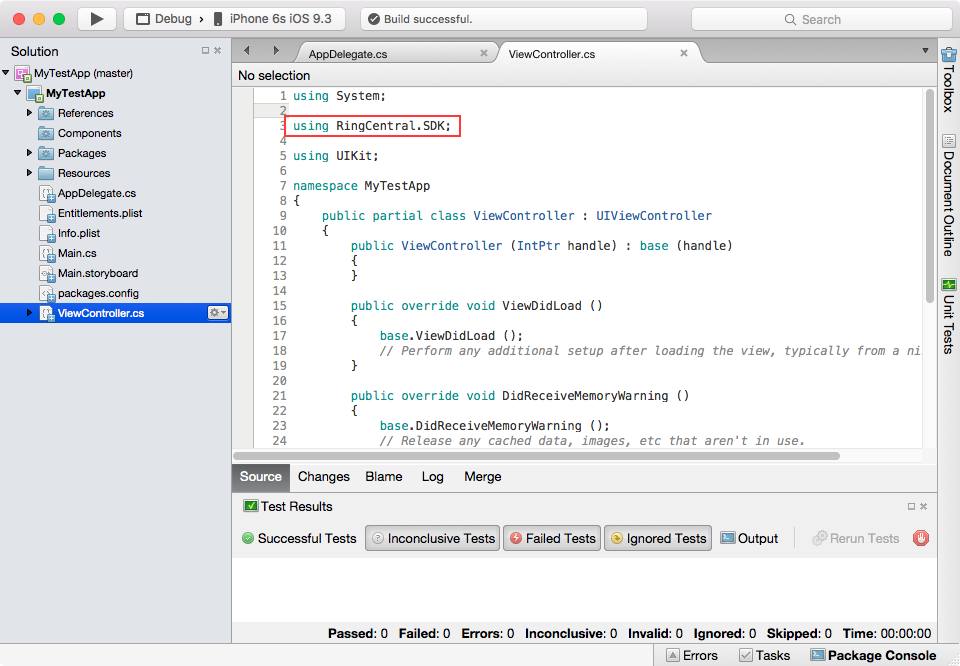
Add using RingCentral.SDK; to ViewController.cs
Press CMD - B to build the project.
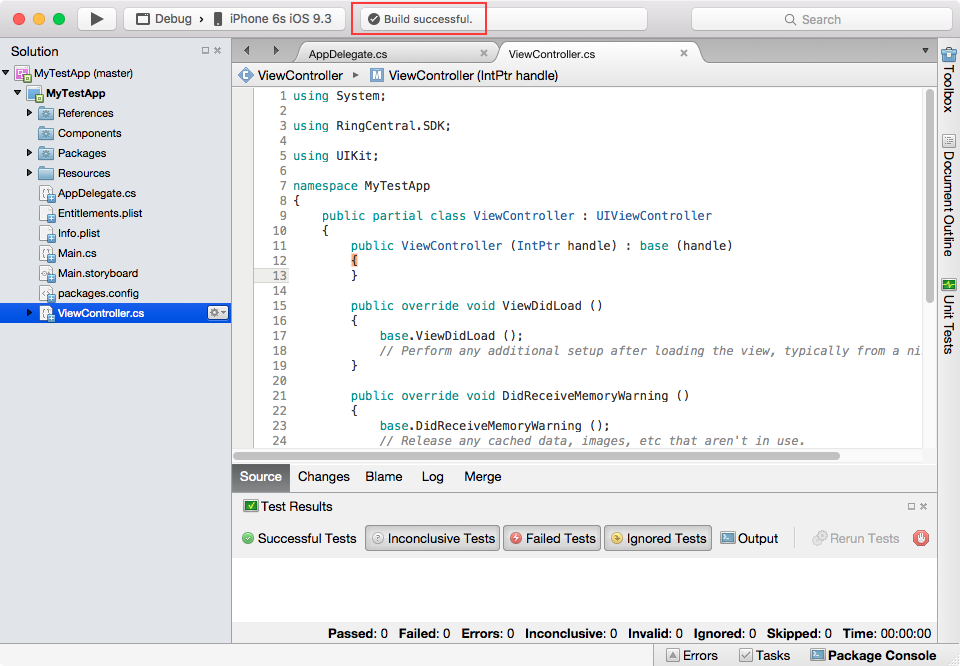
"Build successful." means RingCentral SDK has been installed successfully.
Download the source code for this tutorial.